
Simple DIY Light Painting Brush
I've never really done much light painting before, always liked the idea of it but somehow have just never got round to it, or found the right subject for it. Also I'm not hugely keen on wandering about in the dark, tripping over all the crap I have left lying around on the studio floor (note to self: tidy up floor!).

Anyway a couple of weekends ago I was playing about with some ideas for a new portfolio shot involving a wall clock. Now this clock happens to look a bit like a pocket watch and a pocket watch normally has a chain (see where I'm going with this yet?), so I figured, "what if instead of a chain, I use some wispy light trails".
So after a bit of trial and error, this is the shot I ended up with. This post though isn't really about the finished shot, It's about the tool (and I use that word loosely) that I used to create the light streaks.
Of course these days you can easily buy ready made light brushes, sticks and a plethora of other modifiers aimed at the avid light painter but seriously, where's the fun in that?! So in true Blue Peter fashion, I knocked up a DIY light painting brush. It won't win any awards for style, in fact it's about as aesthetically pleasing as tooth decay but it did give me the effect I was looking for and it's super simple and cheap to make. So I thought I'd quickly show you how I put it together and maybe it will help someone who is looking to do something similar.

Highly Engineered Parts
So here's the list of parts:
1 x £2.99 LED Tourch
1 x Coke Bottle (empty)
1 x Off Cut of Black Card
1 x Snoot Grid
1 x Colour Gel (colour optional)
1 x Roll of Sticky Tape
Honestly gaffer tape would be much better but I couldn't find any (it's probably on the floor somewhere) so sticky tape had to do.
Assembly was extremely complex and involved several CAD drawings and a team of engineers. Fortunately though I am now able to present you with a simplified process ;)

Stick The Bottle To The Torch
Adding the bottle to the torch diffuses and scatters the light, helping to create a softer light trail with different brightness levels within it. It almost gives the light a textured appearance, rather than just a solid beam.
Next I cut a piece of black card, made a tube and taped it around the bottle. It's basically acting as a snoot, focusing the light at the bottom of the bottle and preventing it spilling out all over the show. You can of course dispense with the snoot, you'll find that it gives a different effect though and it wasn't what I was looking for in this particular case.
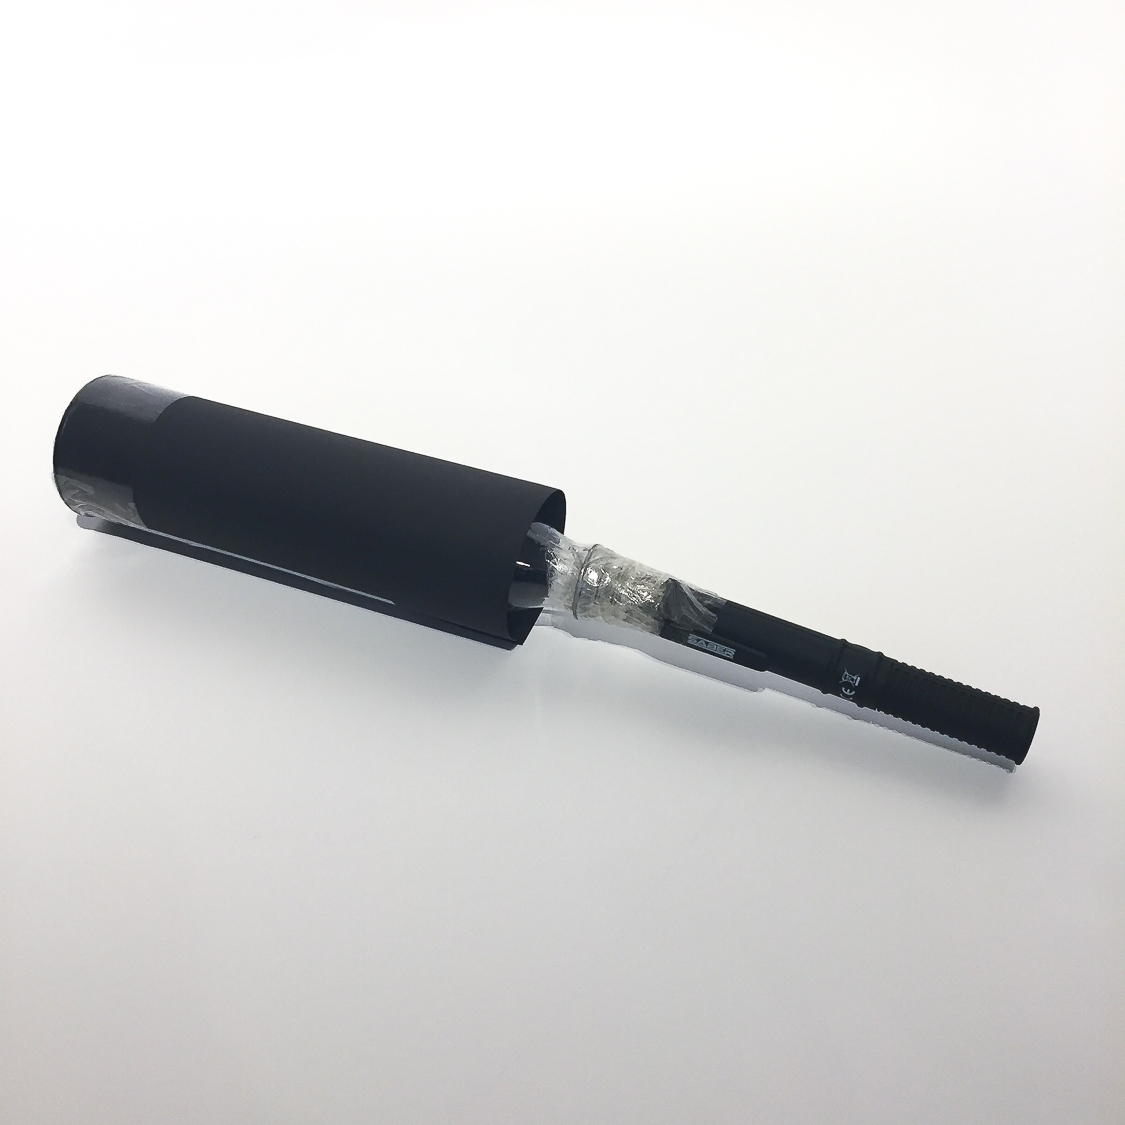
Wrap Black Card Around Bottle

Light Leak!
I should have made the card longer so it extended all the way over the bottle and blocked up the end, Leaving it short like this meant unfiltered light leaked out and was captured along with the blue light, you can see this in the right hand image above. By the way that's my daughter waving the light stick, if you look closely you can just about see her leopard print pyjamas!
In the end I just wrapped a cloth around the bottom part to block that unwanted light from view.
Next I stuck a blue gel over a grid, it's the type normally used in a snoot. As luck would have it the little grid is almost exactly the same size as the end of the cardboard tube. Result! So it was simply a matter of fitting the grid into the tube and securing with a little tape.

Perfect Fit

Colour of Choice
I wanted a blue light so the reason for the gel is pretty obvious, the grid was added to reduce the light output (filter helped with that also) and narrow the beam. I found without the grid the light was too bright even if I stopped down and I was getting way too much flare.
And that's it! One light painting brush/torch/wand/stick (whatever!) complete. It did the job. The fact that it looks like something a 3 year old made in art class and that it will almost certainly fall apart, doesn't really matter. It was the right tool, at the right time, low cost and low effort.
Thanks for reading and please feel free to drop me an email or look me up on social media if you want to get in touch.
Darren :)
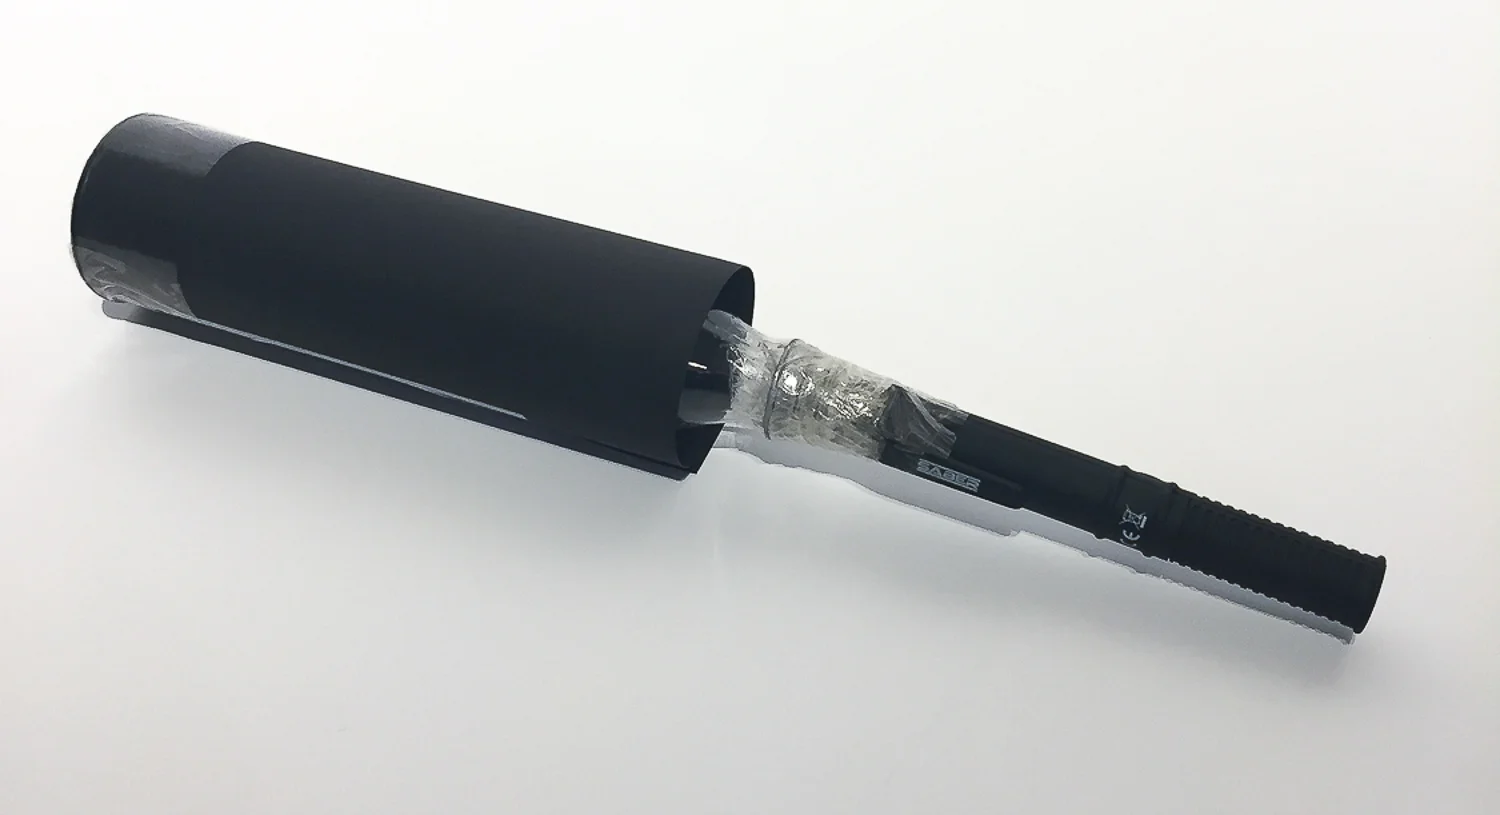
In All It's Sticky Taped Glory!

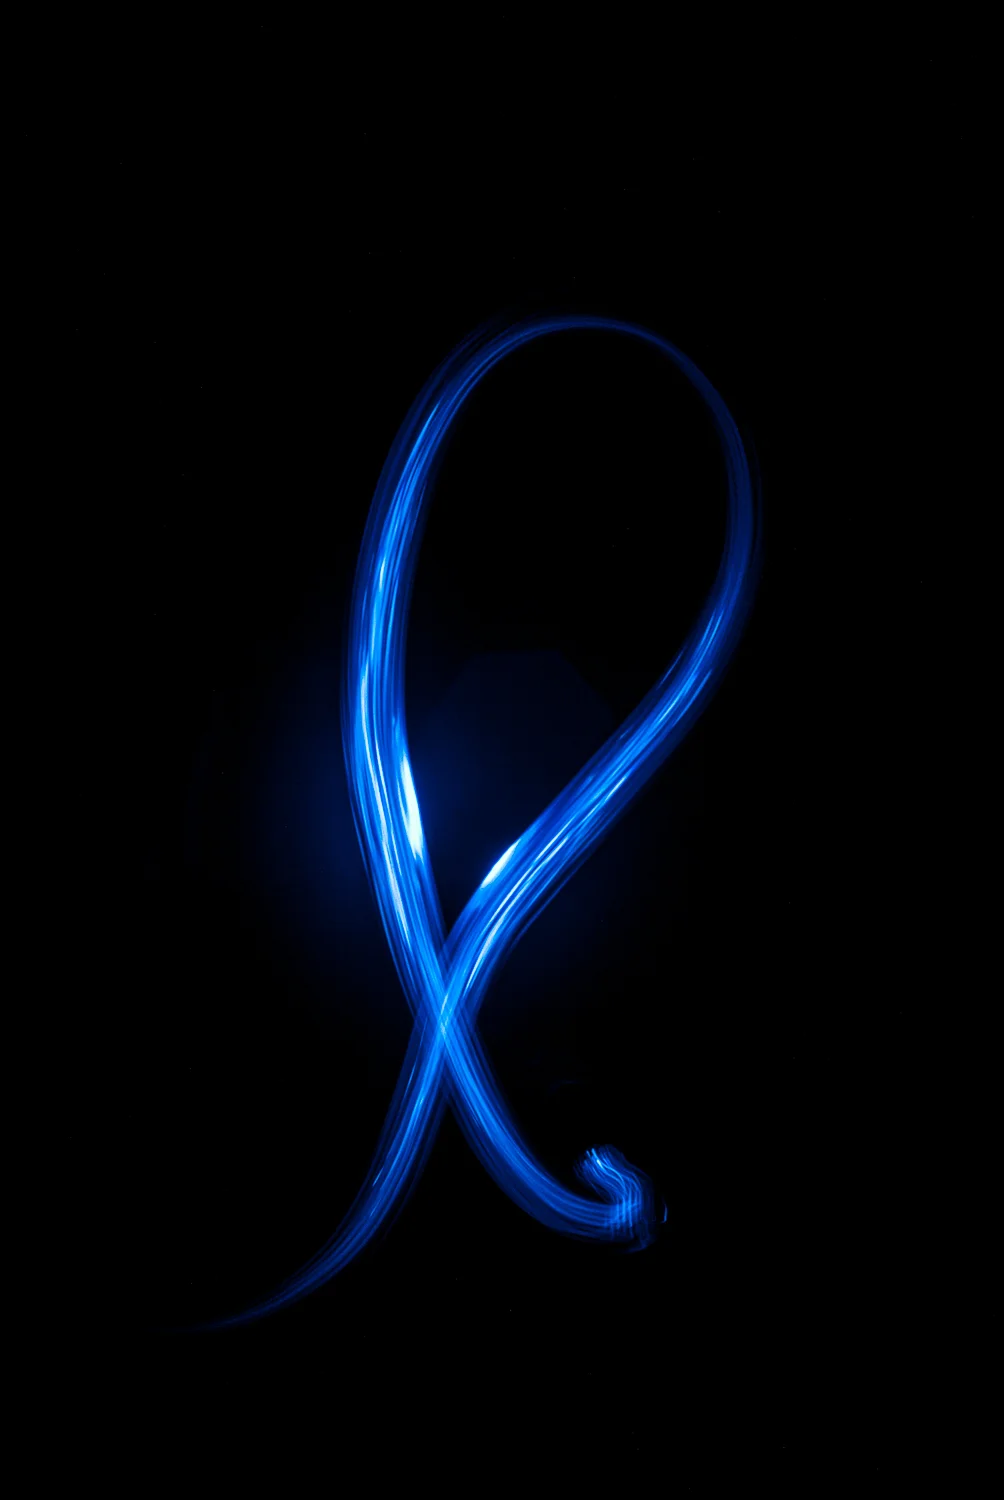
A few examples of the effect achieved with this DIY light painting brush. These two images are pretty much straight out of camera, they have just had black/white adjustments in Lightroom and the clarity bumped up a bit.